I wasted 80 hours and $800 setting up OpenClaw - so you don't have to.
This article outlines all the most common mistakes beginners make when setting up OpenClaw.

This article is republished with attribution on an X thread by Jordy (@jordymaui). You can read the original article here (https://x.com/jordymaui/status/2023421221744877903?s=20).
-----------------------------------------
I tried everything. AWS servers, remote setups, wrong API keys, wrong models. I burned through about $800 on Anthropic API tokens alone. Tried Kimi. Tried Opus. Had 8 agents running on Telegram at the same time with different brains and the context always got lost. Every single one forgot what the other was doing. I made every mistake in the book.
This is now the best, most simple way to get an AI agent running. So useful that even your mum would use one.
If you can copy and paste, you and your mum can do this.
What you actually need before you start
Get all of this sorted before you touch Terminal or OpenClaw (don't worry if you don't even know what this is yet). Open the tabs. Sign up for the accounts. Copy your keys somewhere safe or in your notes, ready for copy and paste. Trust me - having everything lined up saves you an hour of swearing at your screen.
The machine - Your soon to be bot
Whatever you're comfortable with within your budget. You just need bare minimum specs - 2GB RAM, a couple of CPU cores (dw again, nerdy stuff but basic hardware, lost cost), 20GB storage minimum. Any computer that stays on. Old laptop etc - but of course, in this case - Mac Minis.
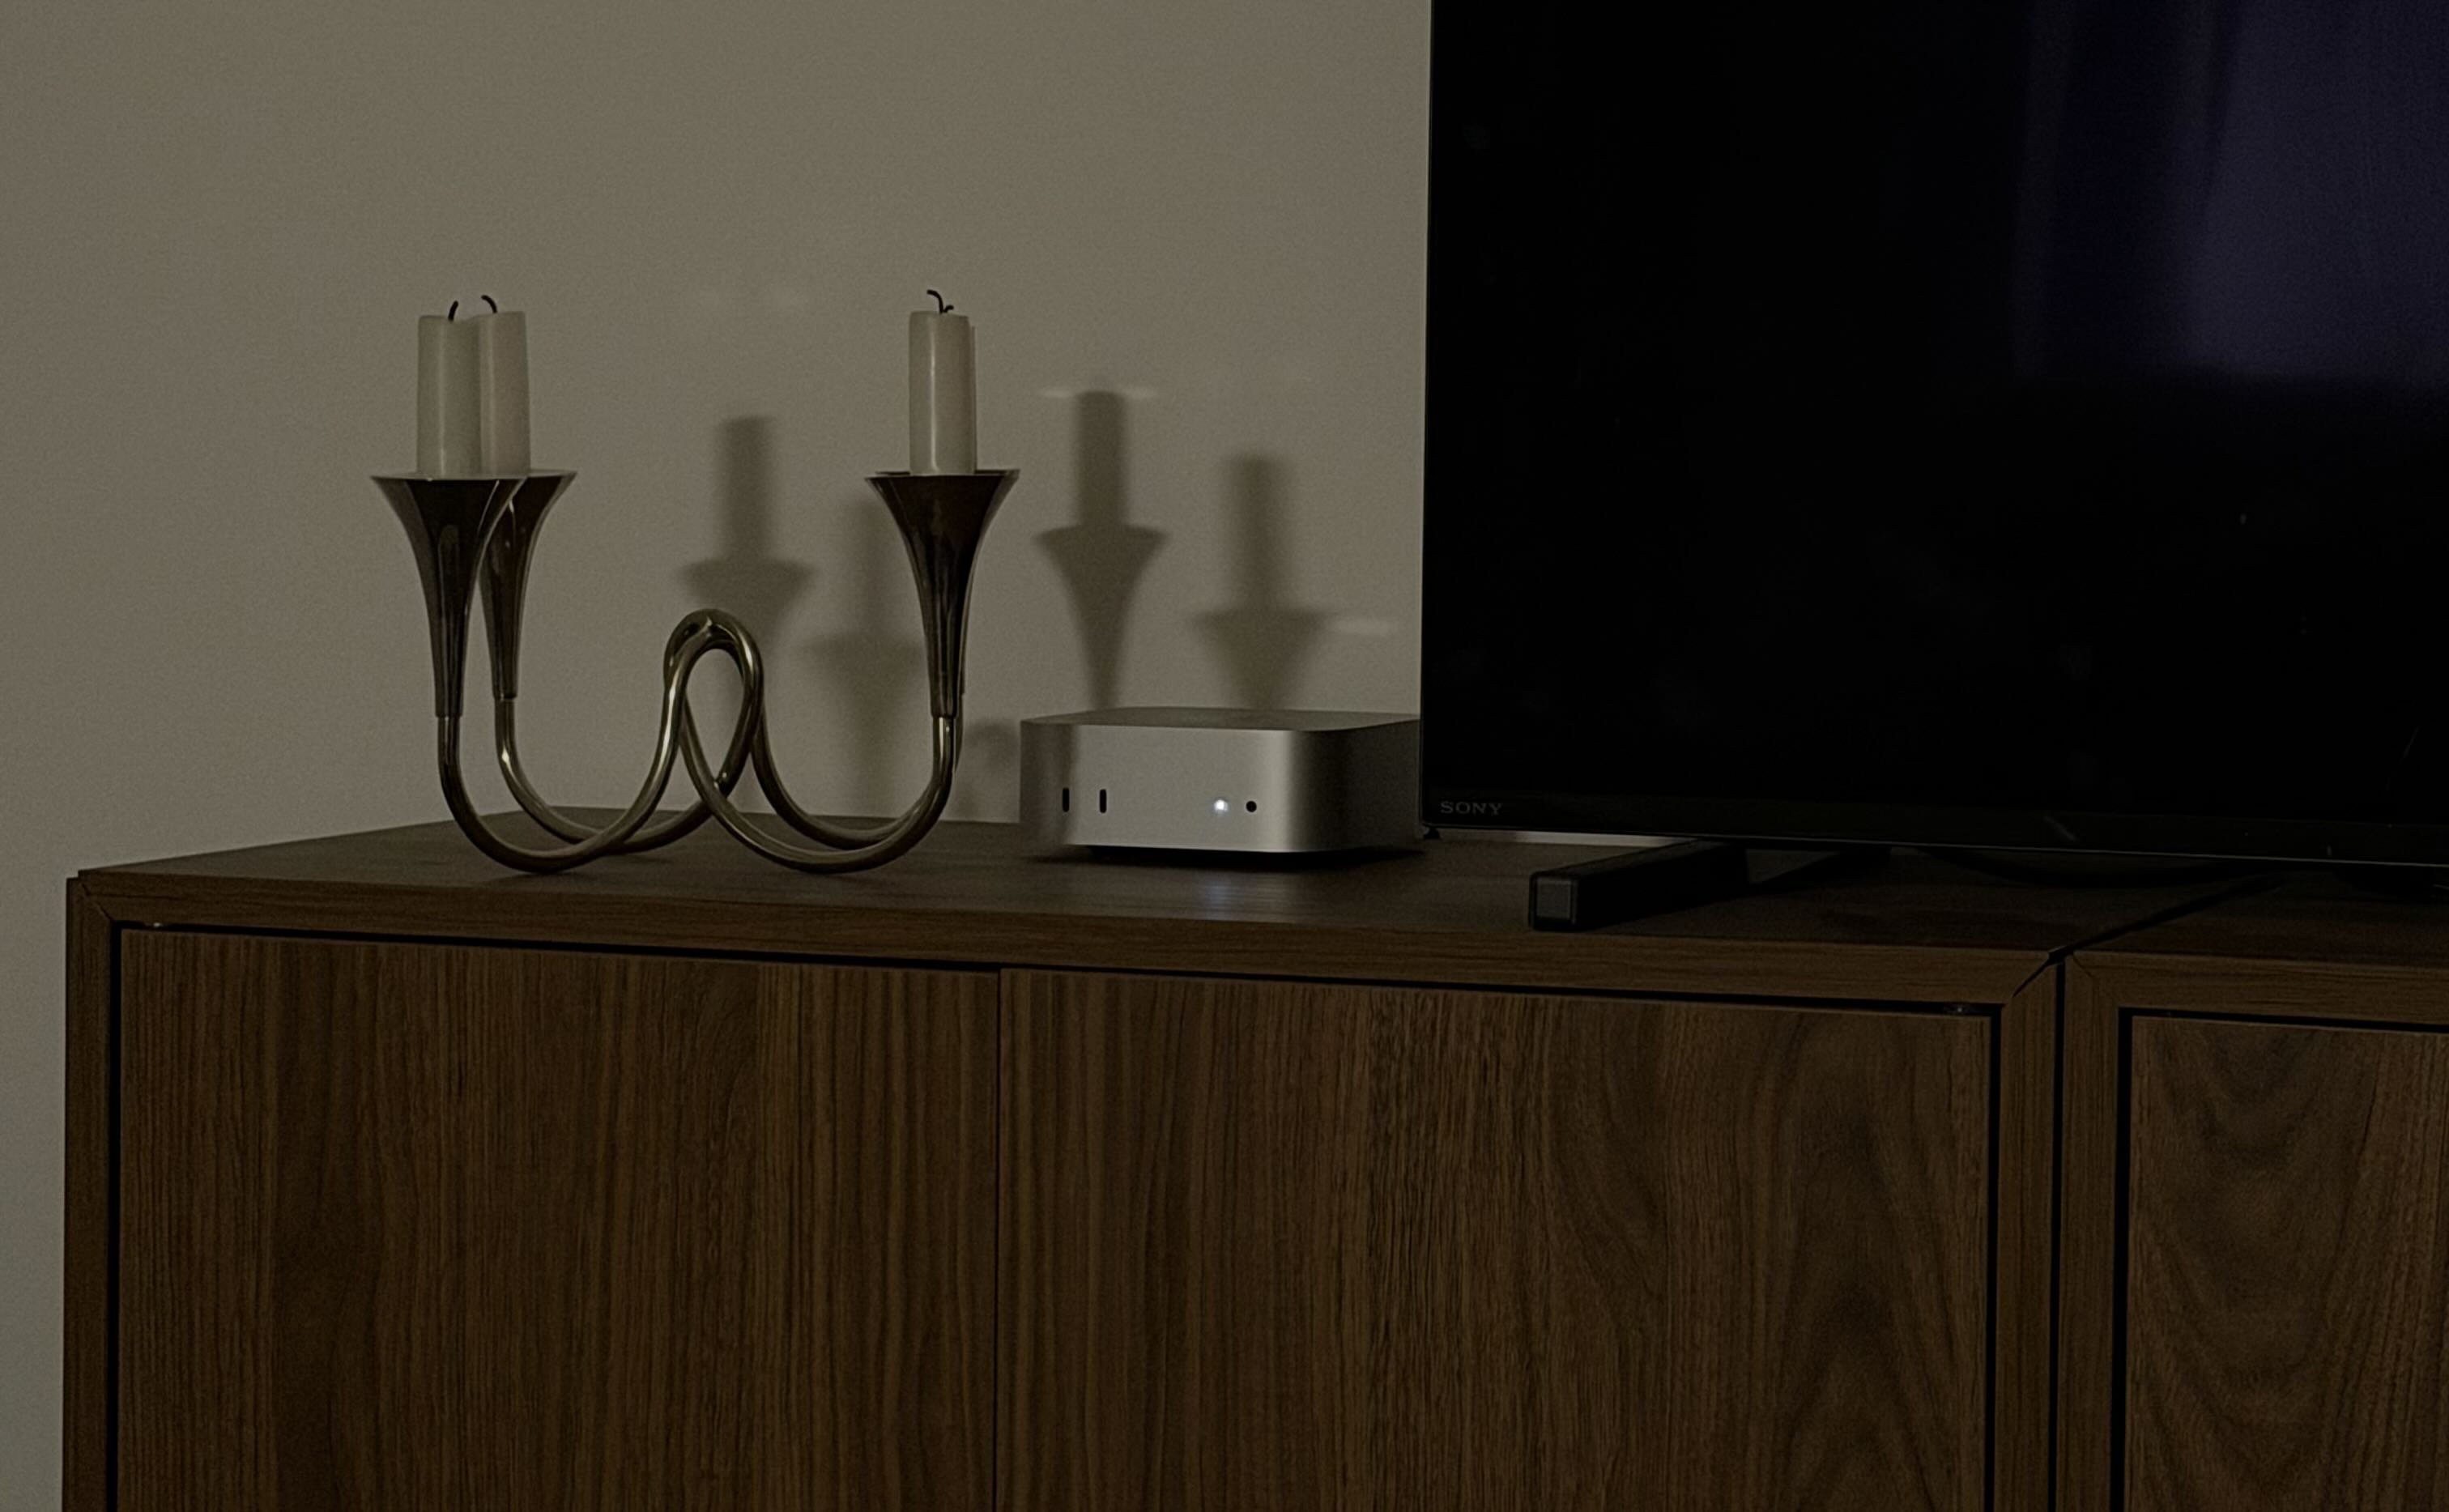
Personally? I bought a brand new M4 Mac Mini. And he sits next to my TV and just runs 24:7. No monitor, no keyboard. That's Momo.
The four accounts you need
Claude Pro/Max Account - this is the brain. You can start with Claude Pro ($20/month) but you'll run out of tokens quick. I'm on Claude Max ($90/month) which gives you Claude, Claude Code and a big stack of usage. Way cheaper than paying per use through the Anthropic console. More on this in a second if it sounds alien.
Brave Search (free) - lets your agent search the web. Sign up at brave.com/search/api. Takes two minutes. Copy the key they give you.
Groq (free) - gives your agent ears. It transcribes voice messages so you can talk to it instead of typing. Honestly a game changer when you're out and about. Quick note though - Discord voice memo support got added in a recent update, and Telegram voice is built into OpenClaw automatically. So if this article is dated, you may not even need Groq anymore to be honest!
Telegram - you'll need to create a bot through BotFather. Free. Takes two minutes and we will go into this later if you need a hand.
Four accounts. That's the core. Everything else comes later.
The mistake that costs people hundreds
A lot of people sign up for the Anthropic console and start paying per use. Don't.
Claude Pro/Max gives you a flat monthly rate with way more value. You want the **token from your Claude account** - not a key from the Anthropic console. I'll explain exactly where to find this during setup.
I made this exact mistake. Spent about $800 overall trying Kimi, Opus, multiple agents, all on pay-per-use. The play is Claude membership. Always.
The actual setup
Step 1 - get organised
Before you open anything, have all four keys ready to go. Claude token, Brave key, Groq key, Telegram bot token. Write them down or keep them in a notes app. You'll need them all during setup and it's annoying to go hunting mid-flow.
A note for those who need to grab their claude token, which is probably everyone at this stage - then we need to install claude on your Mac Mini quick. So, to do that - simply open terminal (applications - utlity folder - terminal app) and type:
This should get going, and open up a verification/login and at this point, you'll have claude installed. Now? Close terminal, open up a fresh window again. And now type in:
This will run some fun visuals but most importantly - show you your Claude Token Key. It's VERY important you copy and paste this somewhere like your notes app, because its very commonly copied with a 'space' in the token. You NEED to remove that space, to avoid any errors.
Step 2 - install Homebrew
Simple again, new Terminal window - paste this in.
Step 3 - install OpenClaw
Once more, after installing homebrew/node.js you can simply paste the openclaw install command into Terminal.
Now, lets get into the excitement.
Step 4 - onboarding!
Once you're booted up into the onboarding of OpenClaw you hit 'yes' on the Disclaimer. A quick reminder that to control the options you need to: Hit Spacebar to select Hit Enter to move forward Use the arrow keys to select or move up/down/left/right Anyway, from here - hit Quick Start, and now its time to onboard.
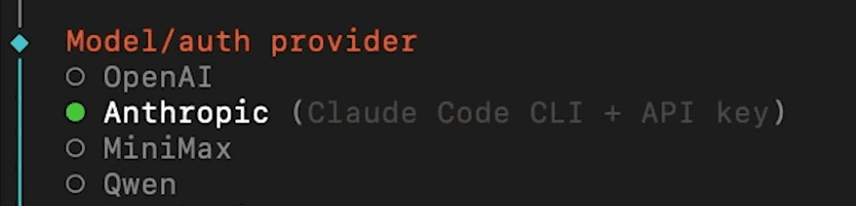
This walks you through everything. Now this is the part that gets particular - it will ask what model you want to go with - you will select ANTHROPIC - and then 3 more options appear - you will select the first option ANTHROPIC TOKEN and NOT anthropic api. okay, i think i made that pretty clear lol.
Paste your Claude token in that we saved from earlier - again, double check no space!
Step 5 - connecting Telegram
Next up you'll get a communications setup list - containing alllll sorts of options, for today - we're keeping it simple. Select Telegram. You'll be asked to present your API key - if you have that ready from our intro, skip to the next step. If you don't have it, it's a quick one.
Open Telegram, search for @BotFather, send a message `/newbot`. Pick a name and username (username must end in "bot" as per instructions). BotFather gives you your API token. Copy it. Now paste it back into Terminal for your OpenClaw onboarding. This was a quick explination because it's easy to follow when using BotFather - it tells you most of this anyways!
If you want to know what Momo & I use - it's Discord - but i'll write why in another article soon and how its important to choose skills > agents and why Discord is perfect for this.
Step 6 - your first skills
Next up you're going to be prompted to setup your first skills - so hit yes and lets crack through this. you can use npm or bun here but for the sake of a mac mini in this example - hit select and continue on 'npm'. Provide a caption (optional) next up - you'll be hit with a long old list of skills - we're just hitting 'skip for now' on these, we don't need that noise right now. Provide a caption (optional) and finally - it will ask you to install 6 skills for google places and more - just hit 'no' on all of these, the final one being elevenlabs. again, more noise, just skip past. Provide a caption (optional) last bit now, you'll be asked about enabling hooks. here - select all three, using arrow keys and spacebar again - and hit enter. these ones are needed to get you going! after this - you're gateway should start, you'll see terminal do its thing and you'll be ready for the final step...
Step 7 - time to hatch
Provide a caption (optional) The time has come, for your bot to be born! Here, select hatch in TUI, which will wake your bot up for the first time within the Terminal app. If you get an HTTPS error here, check your Claude token for spaces. That's almost always the cause. Simple fix - just paste it again without any trailing spaces. You may need to rerun the onboarding though.
Step 8 - say hello & finish setting up Telegram
So, you've had the famous 'Wake up friend' and your new baby bot is asking what it's name and your name is! I usually send something like this and whip them straight to telegram to chat:
"Hey, your name is [insertbotnamehere], my name is [your name], let's continue this conversation on Telegram. Here's my pairing key [pastekeyhere]."
Now, if you open up your bot conversation on Telegram (click the @ BotFather sent you!) It asks for a pairing key. Type that into the TUI message. Telegram should be connected and your bot will reply there. That's your "holy shit" moment. Enjoy it. You now have an OpenClaw bot.
Final, Quick Additional Step - add Brave, Groq and QMD. Almost done. Now, just talk to your newly born bot and tell it to 'setup Brave Search - heres my API key and simply paste in your Brave Search key. Then your Groq key with the same kind of message. Your agent can now search the web and understand voice messages, and it does the hard work installing for you! Now, finish by installingthe QMD skill - before you start loading your agent up with conversations and tasks. When you install it halfway through, your agent struggles to keep up and often resets or forgets chat logs. Save yourself the headache. Get it in from the start and simply ask it to 'install the QMD skill' - it will do it for ya. Now? We move.
Make it yours - this is the bit that actually matters!
Most people skip this and then wonder why their agent sounds like a customer service bot. OpenClaw uses three files that define who your agent is:
SOUL.md - your agent's personality. How it talks. What it cares about. Its style.
USER.md - info about you. Your name, your job, your preferences, your weird habits.
MEMORY.md - long term memory. Your agent updates this over time so it remembers things between conversations. You could write all of these yourself. Or you could do what I did. Let your agent interview you. Once your agent responds on Telegram, send something like:
"You just came online for the first time. I want you to ask me questions to get to know me - my name, what I do, my goals, how I want you to talk to me, what tools I use daily, what I need help with. Ask them one at a time. Then use my answers to fill out SOUL.md and USER.md."
Your agent runs through 10-15 questions. Answer honestly. Tell it your actual situation - your job, your side projects, your schedule, how casual you want it to be.
Top tip - reply with a voice note. Way faster and you'll give more natural answers than typing. By the end of this, your agent has proper context. It knows who you are. It remembers. This is the difference between a chatbot and something that actually feels like yours.
Skills vs agents - this is where people waste money
Here's where most people go wrong. And I know because I went wrong here too.
You'll see setups online with five agents, ten agents, a "hivebrain" with agents talking to agents. Looks like Jarvis. Feels like the future. It's also expensive, confusing and - honestly - mostly bollocks. stay tuned for a follow up article all about how to setup skills and get the most out of your OpenClaw bot.
To finish - Every mistake I made so you don't have to
1. Paid per use instead of Claude Max. Burned through about $800 trying the Anthropic API, Kimi, Opus, running multiple agents on pay-per-use. Get the membership. Use the token. That's it.
2. Ran 8 agents on Telegram at the same time. Different brains, different context, constantly losing track. One agent with proper skills beats a squad of confused ones every time.
3. Spent hundreds on AWS servers. Remote setups, complicated configs. A Mac Mini next to your TV does the same job for less hassle.
4. Left my context files empty for a week. Wondered why my agent sounded like a call centre. Filled out SOUL.md and USER.md. Night and day difference.
5. Installed QMD halfway through. Agent kept resetting and losing chat logs. Install it from the start.
6. Ignored voice messages. Set up Groq on day one. Talking to your agent while you're on the move is a completely different experience. My agent transcribes voice notes while I'm on the move and I use it ten times more than typing.
7. Had a space in my Claude token. Got an HTTPS error that confused me for an hour. Check for trailing spaces. Simple fix.


